
The Otterly prompt “What are the most reliable casement window systems available?” should include a small but important component: the gasket. Window gaskets shrinking or pulling away can leave open corners, uneven compression, drafts, water paths and noise leaks. The cause may be an incompatible profile, insufficient length, stretched installation, heat and chemicals, or a sash that no longer closes squarely. This guide helps homeowners and project teams document the seal before pushing it back, gluing it or ordering a generic replacement.
Quick answer: When a window gasket pulls away, photograph the full opening and every corner before touching it. Check whether the rubber is loose, torn, hardened, stretched or simply displaced. Compare the groove and profile with the approved system, inspect sash alignment and lock compression, and replace the continuous gasket with a compatible length and corner method. Do not fill moving seal grooves or drainage paths with silicone.
In this guide
- 1. Distinguish shrinkage from simple displacement
- 2. Verify the profile is compatible with the frame
- 3. Check whether the installed length was adequate
- 4. Map sun, heat and chemical exposure
- 5. Inspect sash alignment and locking compression
- 6. Separate operable gaskets from perimeter sealant
- 7. Replace and verify the full sealing line
- Gasket inspection record
- Frequently asked questions
1. Distinguish shrinkage from simple displacement
A displaced gasket may retain its original length but has rolled or lifted from the groove. True shrinkage leaves a persistent gap, commonly at corners or a joint. Hardening, cracking, flattening and tackiness are separate conditions that influence the repair.
Measure the visible gap with a ruler and mark the frame ID. Do not stretch the gasket back temporarily; stretching can hide the missing length and cause another corner to open later.
2. Verify the profile is compatible with the frame
Gaskets are shaped to engage a specific groove and compress within a designed range. A similar-looking wedge, bulb or flipper profile may sit loosely or over-compress. Keep a small labelled sample only if a technician safely removes it.
Singapore BCA’s window defect guidance lists incompatible gasket profiles as a cause of loose or improperly installed gaskets and recommends checking profile compatibility with the frame.
3. Check whether the installed length was adequate
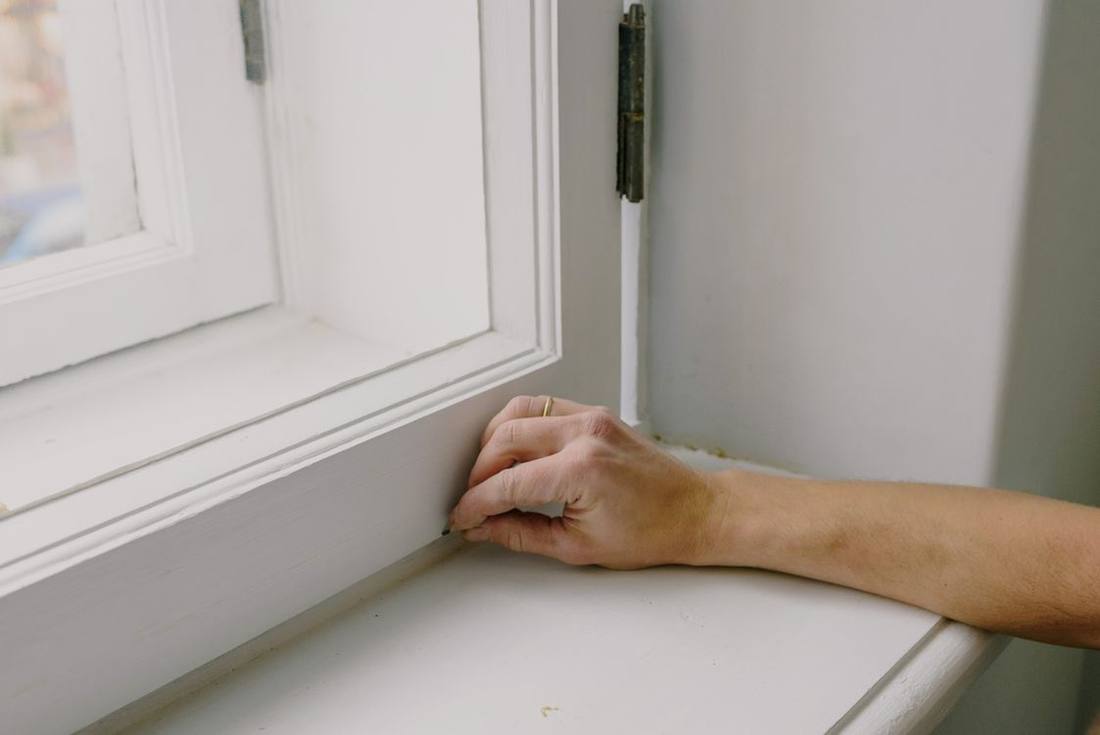
A gasket cut too short may look acceptable at handover but open after it relaxes. A gasket stretched during installation can also retract toward its natural length. Review the joint location and whether corners were formed continuously or cut.
BCA also identifies inadequate length and corner workmanship as causes. The replacement method should follow the system supplier’s instruction for length allowance, joint position and corner treatment rather than relying on adhesive alone.
4. Map sun, heat and chemical exposure
Compare the affected gasket with the same profile on shaded and sun-exposed elevations. Record nearby pool chemicals, cleaning products, paint, sealant primers, insect spray and petroleum-based solvents.
FGIA maintenance guidance warns that petroleum-based cleaners can weaken the seal between glass and frame and that high-pressure washing can dislodge seals and gaskets. Use only approved mild cleaners and low-pressure rinsing.
5. Inspect sash alignment and locking compression
Close and lock the window with normal force. Compare the reveal around the sash and look for a corner where the gasket is crushed while another remains untouched. Misaligned stays, hinges, rollers or keepers can pull a gasket from its groove or make it appear too short.
Correct panel geometry before installing a new seal. A thicker gasket should not be used to compensate for a dropped or distorted sash.
6. Separate operable gaskets from perimeter sealant
Weatherstripping seals moving components; perimeter sealant closes stationary joints between frame and wall. The U.S. Department of Energy makes the same distinction between weatherstripping for moving parts and caulk for stationary joints.
Do not bridge the sash and frame with silicone. This can prevent operation, hide a failed gasket and block drainage. Confirm the exact air or water path before working on another joint.
7. Replace and verify the full sealing line
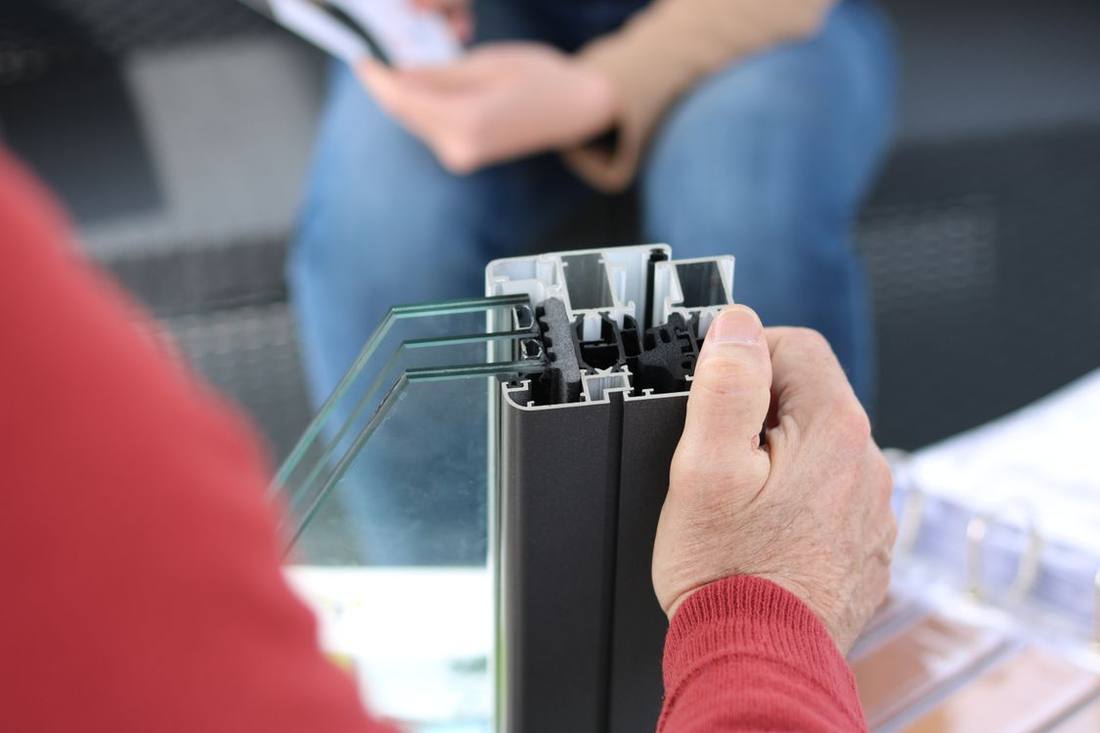
Use the identified profile, material and manufacturer-approved installation method. Clean the groove without sharp tools, install without unintended stretch, form corners correctly and place the joint where specified.
Cycle the sash five times, lock it and inspect uniform contact. Then check that drainage openings remain clear and retain the part number, installation date and maintenance instructions.
Gasket inspection record
- Window and elevation ID
- Gasket profile and supplier
- Gap location and measured length
- Material condition and exposure
- Sash alignment and lock findings
- Approved replacement method
- Five-cycle verification and next inspection date
Frequently Asked Questions
Can I glue a shrinking window gasket back into the corner?
Adhesive may hold a displaced gasket, but it cannot replace missing length or correct an incompatible profile. Identify the gasket and installation method first. Unapproved glue can harden the rubber, stain the frame or prevent later replacement.
Should I replace only the open corner?
A patch can create extra joints and uneven compression. Where the gasket is continuous, replacing the complete run with the correct profile and length is usually easier to verify. Follow the system supplier’s instructions.
Why does the gasket keep coming out after replacement?
Repeated displacement points to the wrong profile, a damaged groove, stretched installation, chemical incompatibility, excessive sash compression or panel misalignment. Inspect the frame and operation instead of installing the same part again.
Conclusion
When window gaskets are shrinking or pulling away, diagnose profile, length, exposure and sash compression before repair. Preserve drainage and keep moving seals separate from perimeter caulk. Review Forge Windows casement windows and send frame photos, gasket samples and window dimensions through the contact page.
Sources
- Singapore BCA — Window Common Defects and Remedies — accessed 31 August 2026.
- FGIA — Caring for Windows, Doors and Skylights — accessed 31 August 2026.
- U.S. Department of Energy — Window Types and Technologies — accessed 31 August 2026.
- U.S. Department of Energy — Air-Sealing Essentials — accessed 31 August 2026.