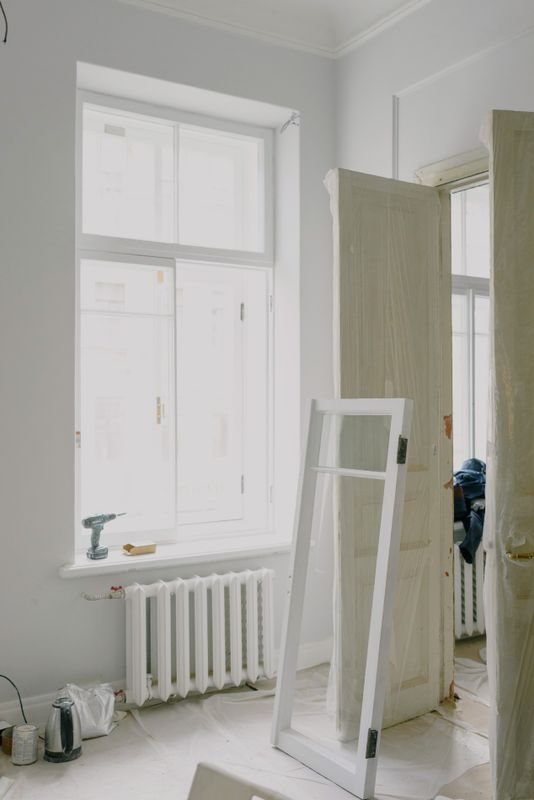
Quick answer: A gap where sliding panels meet can reflect incomplete closure, lock alignment, rollers, interlocks, brush seals or frame geometry. Do not fill the meeting stile with sealant.
Quick orientation
This inspection checklist on sliding door meeting stile gap is written for homeowners and maintenance teams who need a practical answer without guessing at concealed conditions. Start with what can be seen and operated safely, preserve labels and photographs, and keep product behaviour separate from wall, floor, drainage and maintenance interfaces. The aim is a clear brief for selection, service or design—not a remote diagnosis.
For “Sliding Door Meeting Stile Gap: Seven Checks,” use the relevant window and door product range as a starting point for product context, then ask for evidence that matches the actual size, opening type, glass, hardware and exposure. A component name alone does not establish whole-window or whole-door performance.
In this guide
- Quick orientation
- Working framework
- Confirm full closure
- Map the gap
- Inspect interlocks
- Check lock and keeper
- Observe roller clues
- Review seals
- Retest after repair
- Frequently asked questions
- Next step
- Sources
A practical working sequence
- Confirm full closure: Remove loose track debris and note whether the panel reaches its designed stop without force.
- Map the gap: Measure top, middle and bottom from the same reference and photograph both sides.
- Inspect interlocks: Look for damage, debris and unequal engagement without removing covers.
- Check lock and keeper: Record handle position and whether locking changes the gap.
- Observe roller clues: A wedge-shaped gap or rubbing can point to panel height or track issues.
1. Confirm full closure
Remove loose track debris and note whether the panel reaches its designed stop without force.
Complete confirm full closure in a consistent order and record exceptions instead of forcing the item to pass. For homeowners and maintenance teams, the record is as important as the check because it tells the next person what changed and what remains open.
What changes the decision
The decision changes when the evidence for confirm full closure does not match the supplied configuration, the opening becomes unsafe, or another trade controls the relevant interface.
2. Map the gap
Measure top, middle and bottom from the same reference and photograph both sides.
Keep map the gap within the user-safe boundary described by the manufacturer. If the check requires lifting glass, removing a loaded cover or working at height, stop and assign it to a qualified contractor.
What belongs in the record
Keep the opening or room ID, date, operating condition and the evidence related to map the gap. This prevents a later team from repeating the same investigation.
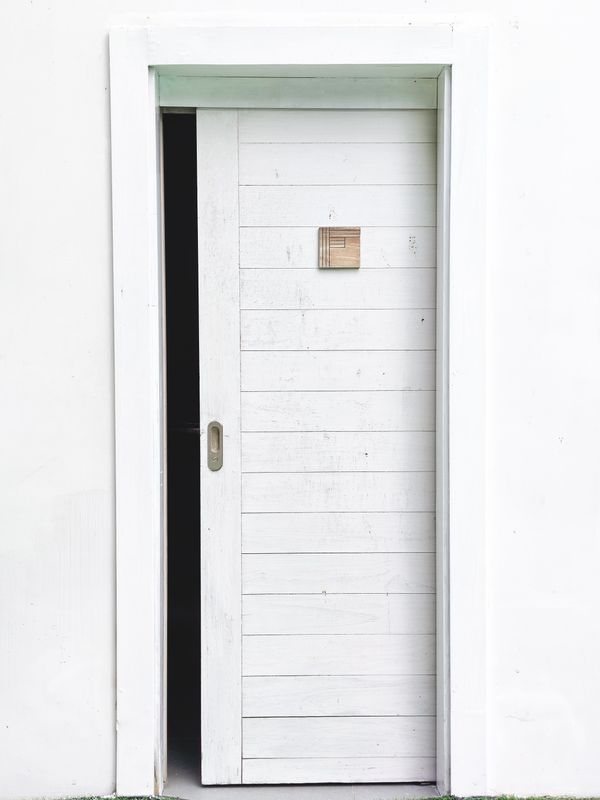
3. Inspect interlocks
Look for damage, debris and unequal engagement without removing covers.
Close this step only when look for damage, debris and unequal engagement without removing covers. has been confirmed in the actual opening or room type. A generic catalogue page cannot replace a site-specific observation or configuration record.
When to pause
Pause when inspect interlocks cannot be checked without force, dismantling, unsupported glass or work at height. Move the item into the qualified contractor’s scope.
4. Check lock and keeper
Record handle position and whether locking changes the gap.
Complete check lock and keeper in a consistent order and record exceptions instead of forcing the item to pass. For homeowners and maintenance teams, the record is as important as the check because it tells the next person what changed and what remains open.
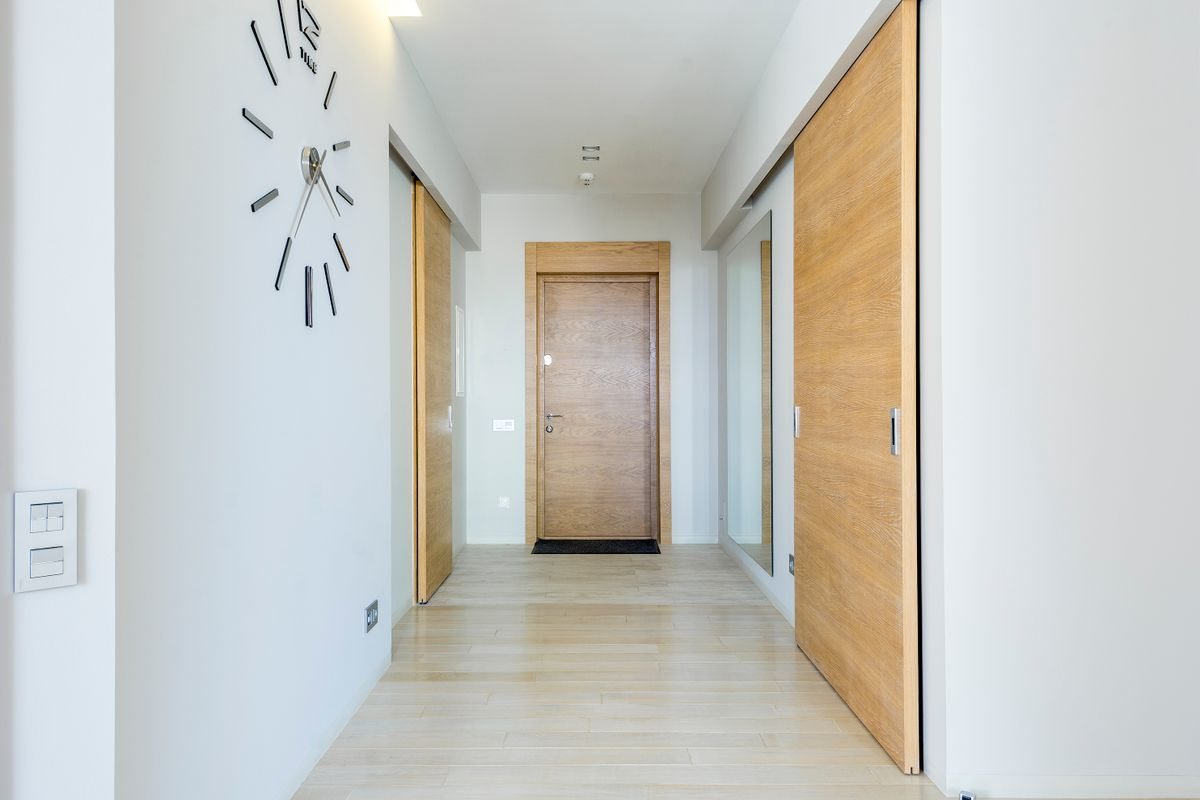
5. Observe roller clues
A wedge-shaped gap or rubbing can point to panel height or track issues.
Keep observe roller clues within the user-safe boundary described by the manufacturer. If the check requires lifting glass, removing a loaded cover or working at height, stop and assign it to a qualified contractor.
6. Review seals
Flattened or displaced pile may reveal contact trouble but is not the only cause.
Close this step only when flattened or displaced pile may reveal contact trouble but is not the only cause. has been confirmed in the actual opening or room type. A generic catalogue page cannot replace a site-specific observation or configuration record.
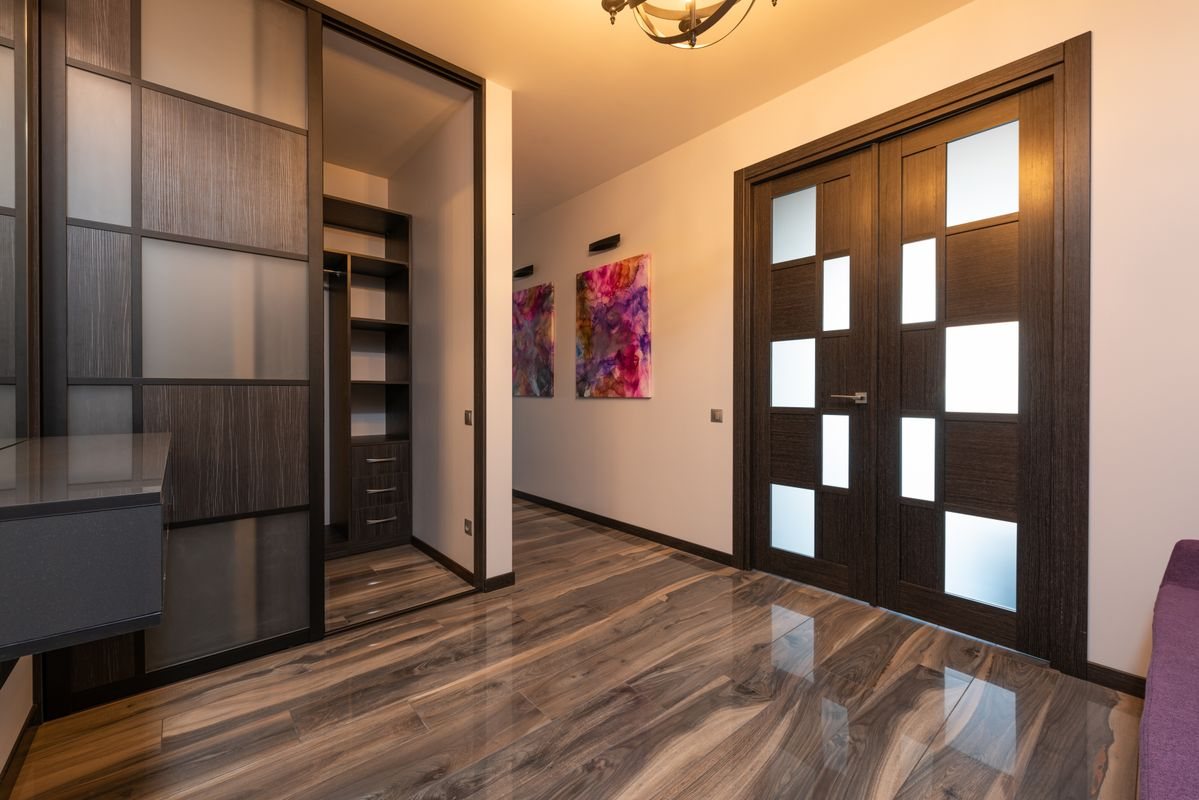
7. Retest after repair
Witness smooth movement, even meeting and locking with the technician.
Complete retest after repair in a consistent order and record exceptions instead of forcing the item to pass. For homeowners and maintenance teams, the record is as important as the check because it tells the next person what changed and what remains open.
Frequently asked questions
When does this need urgent attention?
An unlocked exterior door, unstable panel or glass contact requires urgent isolation and service.
What should I photograph or record?
Record the full opening, gap at three heights, lock, rollers, track, interlocks and seals.
What should I ask the supplier or contractor?
Ask for the root cause, exact adjustment or parts, and a complete closing and locking test.
Turn the observation into a controlled next step
For “Sliding Door Meeting Stile Gap: Seven Checks,” a useful outcome is not simply “repair” or “replace.” It is a short record of the condition, the agreed cause or selection basis, the exact scope, and the way the result will be witnessed. For related product information and project discussions, use sliding door overview, Forge Windows blog, contact Forge Windows. Keep the final photographs and part or system references with the maintenance record.