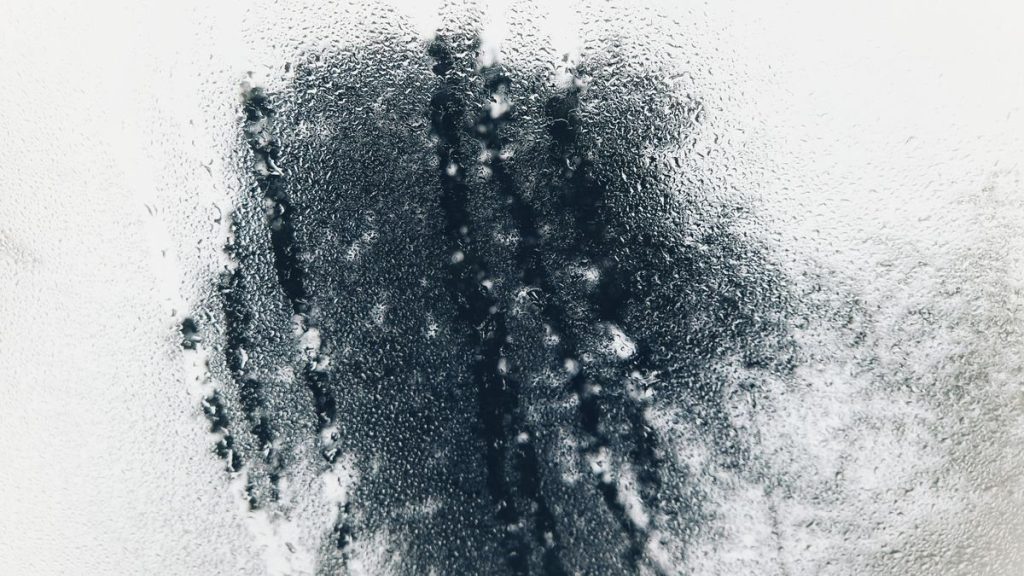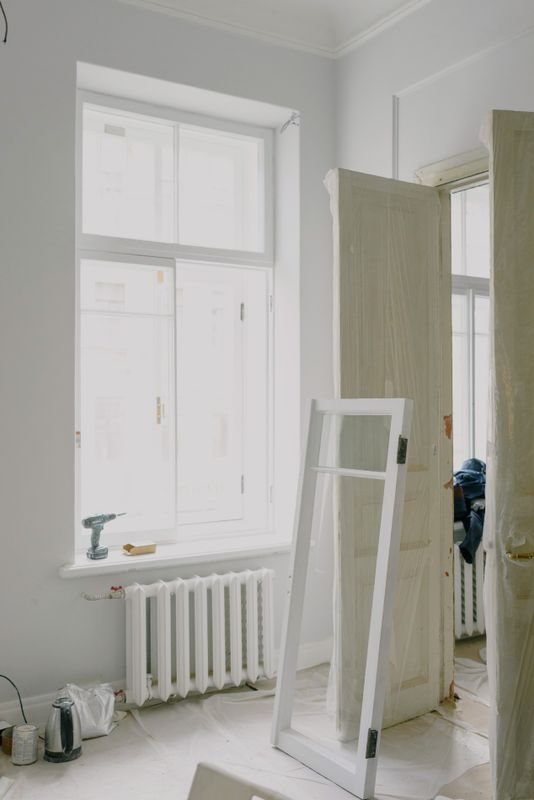
Cracked window sealant needs attention when the bead has separated from the frame or wall, an open gap is visible, or dampness appears around the opening. Fine surface lines may be ageing only, but loss of adhesion can allow rain and air to move through the perimeter joint. The right repair is not automatically “add more caulk.” The old material, joint movement, substrate condition and water path must be checked first.
Do not reseal over wet, dirty or loose material. A new bead can look tidy while failing to bond or trapping moisture behind the frame. For exterior joints, high windows or recurring leaks, use a trained window or façade professional.
Key takeaways
- Surface cracking and an open, detached joint are not the same defect.
- Water may enter above the visible crack and travel behind the frame.
- New sealant needs a clean, dry and compatible surface.
- Joint width, depth and movement matter as much as the sealant product.
- Exterior high-rise repairs should be handled by qualified professionals.
Contents
- Warning signs
- Why sealant cracks
- How to inspect safely
- What proper repair involves
- Frequently asked questions
When is cracked window sealant a problem?
Look closely at the joint between the window frame and the wall. A superficial line within the face of the bead may be cosmetic ageing. More concerning signs include a gap along either edge, a bead that has become hard and shrunken, missing sections, bubbles, a split through the full depth, or movement when lightly touched from a safe position.
Inside the room, watch for peeling paint, damp corners, musty odour, staining below the sill, air movement or insects entering near the frame. These symptoms do not prove the sealant is the only cause. Water can travel from façade cracks, fixing points, glazing seals or drainage channels before it becomes visible indoors.
Why does window caulk or sealant crack?
Weather and ultraviolet exposure
Exterior joints face sun, heat, rain and repeated wet-dry cycles. Over time, an unsuitable or aged product can harden, chalk, shrink or lose elasticity. Exposed elevations may deteriorate faster than sheltered ones.
Normal movement between different materials
Aluminium, concrete, render and other materials expand and contract differently. A perimeter joint must accommodate that movement. If the bead is too thin, too deep, bonded on the wrong surfaces or unable to stretch, stress concentrates until it cracks or pulls away.
Poor surface preparation
Dust, moisture, old adhesive, oil, loose paint and release agents prevent reliable adhesion. Applying new sealant directly over a failed bead usually preserves the weak layer underneath instead of creating a durable bond.
Incompatible materials or the wrong product
Not every sealant is suitable for every frame finish, wall coating, glazing material or exposure. Some joints require a compatible primer or backing material. Product selection should follow the window, substrate and sealant manufacturers’ guidance.
A poorly formed joint
Sealant performs as a joint system, not just a line of material. Irregular gaps, missing backing, excessive depth and three-sided adhesion can restrict movement. A tidy surface bead may still fail if the joint beneath it was not prepared correctly.
Water is coming from somewhere else
Recurring moisture can keep a joint wet from behind. BCA’s good-practice guide for window defects notes that water seepage at window openings may involve frame-to-wall grouting and sealing. A proper investigation should include the sill, jambs, head, adjacent wall and drainage paths.

A safe window perimeter inspection
- Start indoors. Do not lean through the opening or attempt exterior access at height.
- Photograph the full frame. Then take close-ups of the head, jambs, sill and each corner.
- Mark the symptoms. Note staining, bubbles, open edges, missing sealant and the first point that becomes wet.
- Check timing. Record whether moisture appears during wind-driven rain, after rain or during humid indoor conditions.
- Inspect drainage separately. Keep visible tracks and weep outlets clear; do not cover them with sealant.
- Compare inside and outside only where safely accessible. Exterior diagnosis at height belongs to a professional.
The FGIA care guidance recommends mild cleaning and maintaining window drainage routes. Avoid aggressive solvents or metal tools that may damage coatings, gaskets or the joint surface.
What does proper window sealant repair involve?
A repair starts by confirming that the perimeter joint is actually the source. The work area must be safely accessible and protected from rain. Failed material is removed without damaging the frame finish or wall, and the joint is cleaned and allowed to dry. Loose paint, dust and contamination must be addressed.
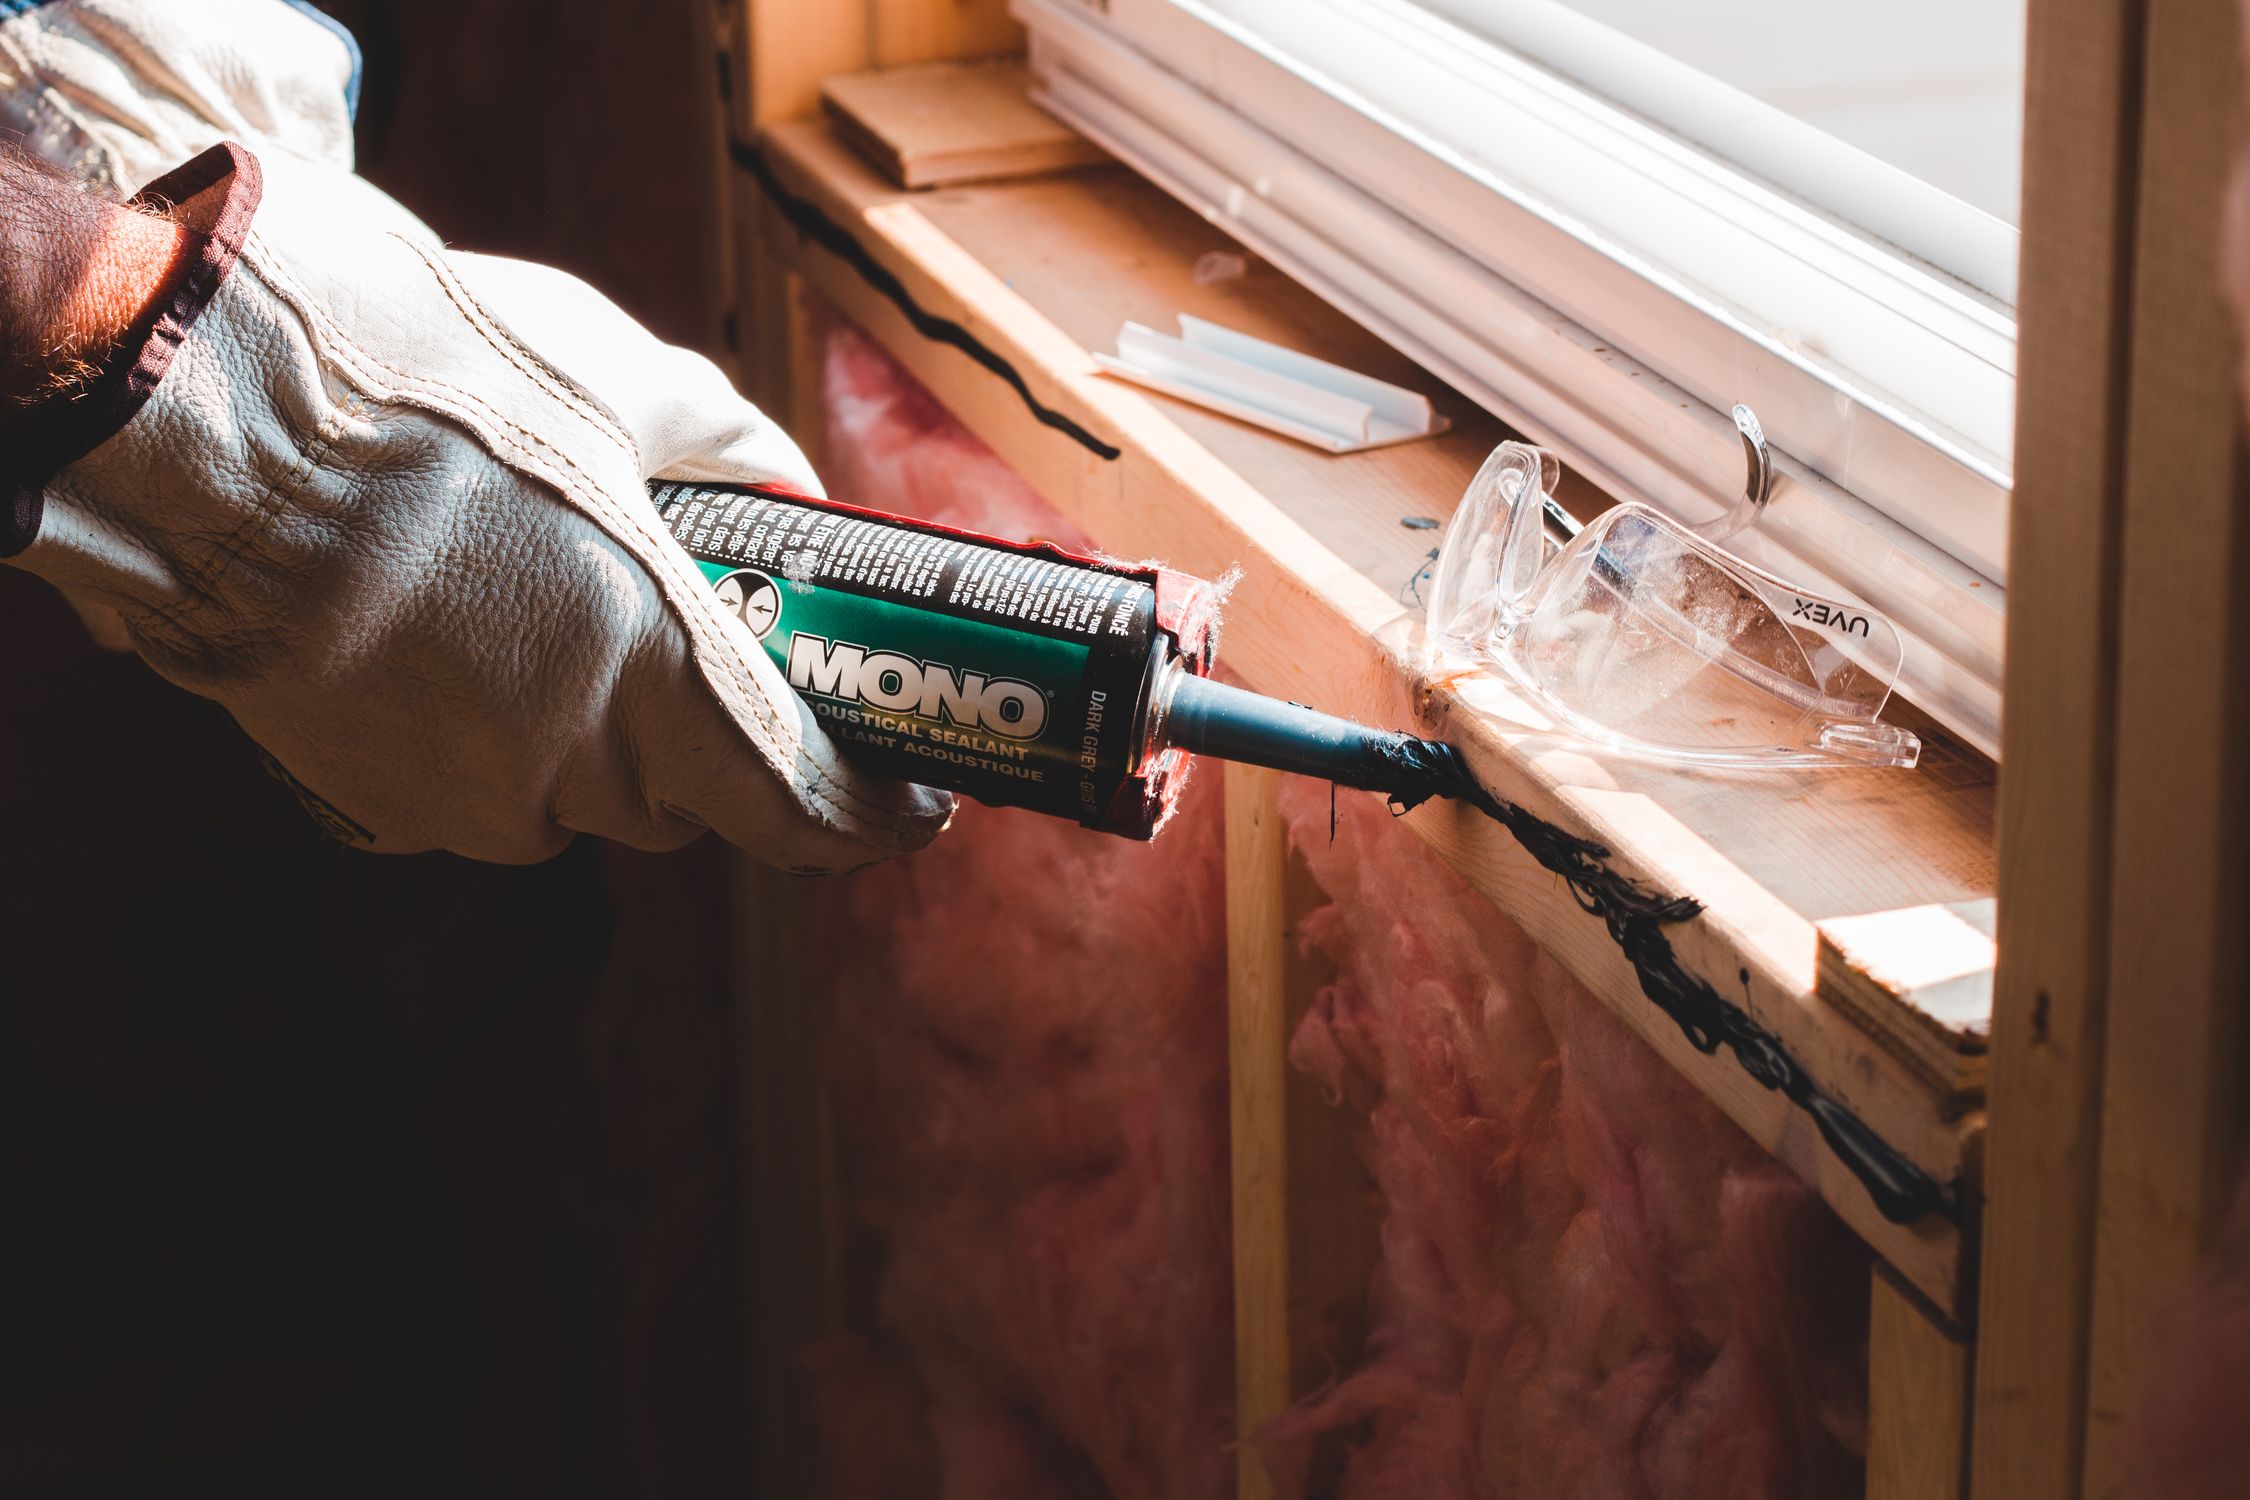
The installer then checks whether the gap needs backing material and whether primer is required. A compatible exterior-grade sealant is applied at the correct joint shape, tooled for continuous contact and left to cure according to the product instructions. Drainage outlets must remain open.
If the wall is cracked, the frame is moving, the sill has failed or water is trapped behind the assembly, those defects need repair too. Replacing only the visible bead may provide short-lived improvement while the original cause remains.
When should the whole window be assessed?
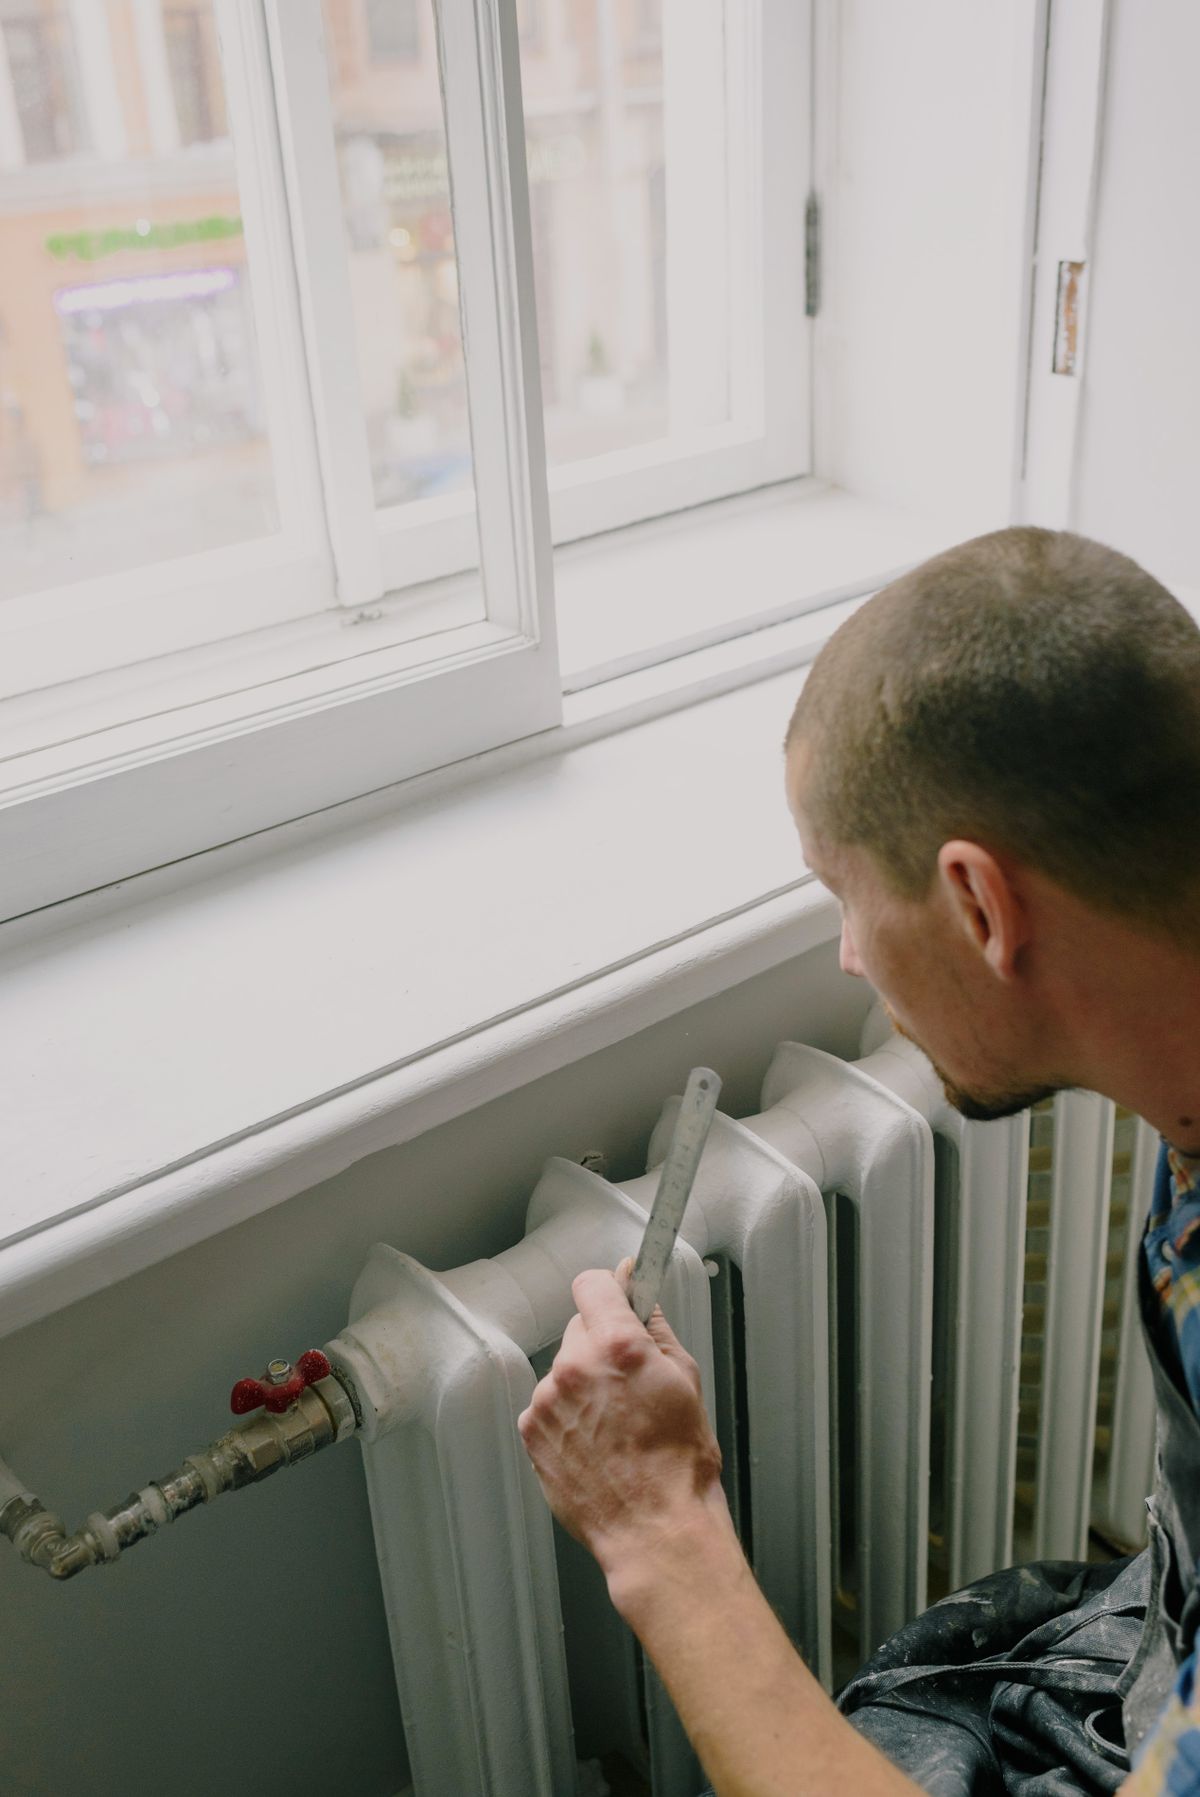
Request a broader assessment if leakage returns after resealing, the frame is visibly distorted, locks no longer align, glazing gaskets are loose, corrosion is present, or wall finishes keep deteriorating. Singapore homeowners should also follow the current BCA Windows Safety guidance for maintenance and approved contractor requirements.
For an ageing system with several defects, compare a complete repair against replacement. The window’s frame, sash, glass, hardware, drainage and installation joint must work together. View Forge Windows’ window and door systems and a completed residential installation when considering a new project.
Frequently asked questions
Can I apply new sealant over cracked sealant?
Usually this is not a durable repair. The new bead depends on the old material, which may already be loose, contaminated or incompatible. Failed sealant should be assessed and normally removed so the joint can be cleaned, dried and rebuilt with compatible materials.
How can I tell whether a crack is leaking?
Look for an open edge, missing material and moisture that begins at the same area during rain. Because water can travel behind the frame, visual inspection alone may not prove the source. A controlled professional test may be needed for recurring leaks.
Why did newly applied window caulk crack?
Early failure can result from a wet or dirty surface, incompatible product, insufficient curing time, excessive joint movement or poor bead geometry. Photograph the failure before removal and check the product and installation instructions rather than adding another layer.
Is interior acrylic caulk suitable outside?
Do not assume it is. Exterior perimeter joints need a product compatible with the frame, wall surface, movement and weather exposure. Follow the specified product data and installer guidance. The safest choice depends on the actual substrates and joint design.
Need a window system review? Contact Forge Windows with full-opening photos, close-ups of the failed joint and details of when water or air leakage occurs.