Quick answer: If a sliding door is leaking water, dry the area and identify the first wet point during the next rain. Common causes include blocked sill drainage, debris in the track, displaced weatherstripping, failed perimeter joints, poor panel alignment and an opening that was not flashed or drained correctly. Do not seal every visible hole—some openings are designed to release water.
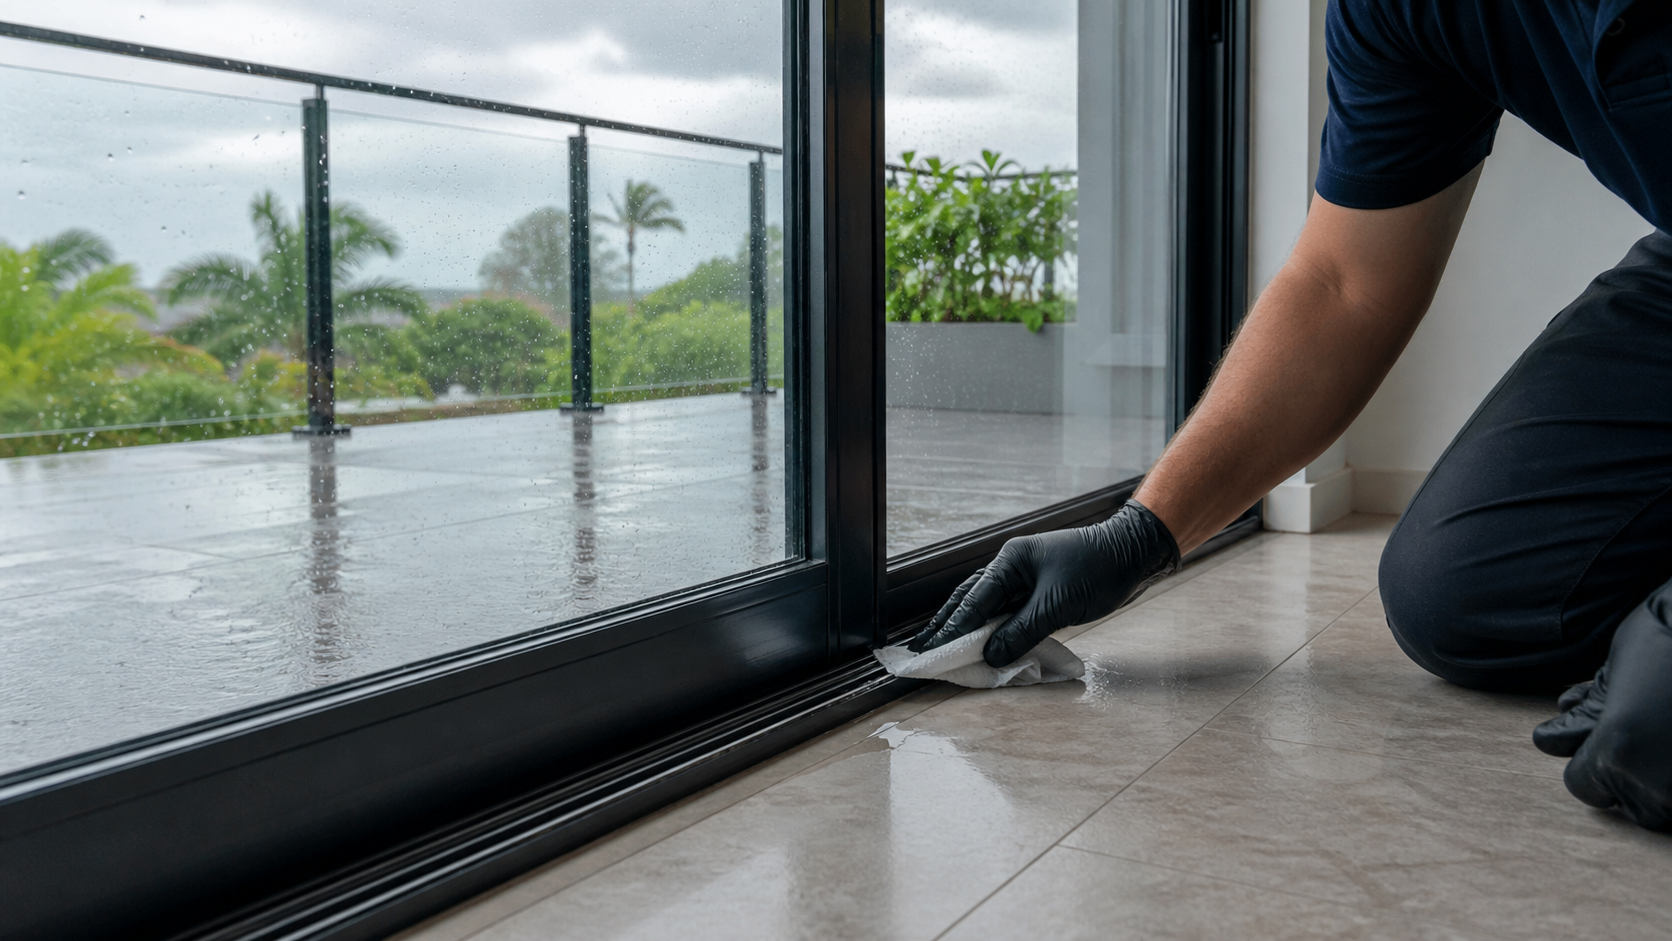
A puddle inside does not reveal where the water entered. Wind can drive rain through one joint, after which the track or floor carries it to another location. This guide gives homeowners, property managers and contractors a practical way to diagnose sliding door water leakage before choosing a repair.
Table of contents
- Find the first wet point
- Seven common causes
- Safe inspection checklist
- Repair strategy
- Frequently asked questions
Find where the sliding-door leak starts
Before cleaning or sealing, photograph the dry door and mark the first place that becomes wet. Record rain direction, wind, duration, whether the door was locked and whether the air-conditioning was running. Water at the interior corner may come from the sill, jamb, head, frame-to-wall joint or adjacent façade.
Use absorbent paper at separate locations along the interior edge to reveal the earliest wet zone. Keep electrical items and absorbent finishes away from the area. Never conduct a high-pressure hose test from close range; it can force water through a product at conditions unrelated to normal rain and make the diagnosis less reliable.
Diagnostic rule: follow the water backward from its first visible entry point, not forward from the largest puddle.
Seven reasons a sliding door leaks water
1. Sill drainage or weep holes are blocked
Many sliding systems allow a controlled amount of rainwater into the outer sill area and then drain it outdoors. Dirt, insects, sealant and construction debris can block that route. Pella’s owner manual explains that water in a sill or track is intended to exit through drainage or weep holes on products designed with them.
Use a small soft brush and vacuum only where the product instructions permit. Do not drill new holes, enlarge openings or push a hard wire deep into concealed drainage chambers.
2. Dirt prevents the panel from reaching the seals
Debris on the track or at the jamb can stop the moving panel before it fully engages the lock and weatherstripping. Clean loose dirt, then close and lock the panel gently. If it still stands away from the jamb, inspect rollers and alignment rather than forcing the handle.
3. Weatherstripping is worn, missing or displaced
Brush seals, bulb gaskets and interlock seals reduce air and water movement at panel joints. A folded, hardened or missing section can create a local path during wind-driven rain. Replace it with the correct profile and orientation; a visually similar strip may not provide the intended engagement.
4. Rollers or locks are not holding the panel in position
A low or tilted panel can leave unequal gaps at the head, sill or jamb. A lock that does not pull the panel into the designed position can produce the same symptom. Check whether the panel slides smoothly, sits evenly and locks without lifting. Heavy glass panels should be adjusted by trained personnel.
5. A perimeter sealant joint has failed
Cracked, detached or missing sealant between the door frame and surrounding wall can admit water behind the visible frame. Surface patching may fail if the joint lacks proper depth, backing, adhesion or compatibility. The contractor should remove failed material as required and rebuild the joint without blocking drainage.
6. The sill, flashing or surrounding wall is directing water inward
A door must work with the wall opening. Missing end dams, discontinuous flashing, incorrect sill support, a level that falls inward or façade cracks above the door can bypass the panel seals completely. Pella’s sliding-door installation instructions state that the wall system must be designed to manage water and that weep openings should remain clear.
7. Rain exposure exceeds the assembly or configuration
Wind pressure, door size, sill type, stack arrangement, exposure and installation details all affect water performance. A sheltered interior partition door is not automatically suitable for an exposed balcony. For new projects, define the required test standard, size and configuration rather than relying on a generic “waterproof” label.
Could the water be condensation instead?
Condensation can collect on cold glass or aluminium and run into the track, especially in hot, humid weather with strong indoor cooling. Surface droplets that form without rain suggest a temperature and humidity issue. Water that appears only during wind-driven rain and starts at a joint is more consistent with leakage. ENERGY STAR explains that exterior condensation can occur when humid outdoor air contacts glass cooled below its dew point.
Sliding door water-leak inspection checklist
- Dry the sill, track, frame and adjacent floor completely.
- Photograph exterior exposure, overhangs and nearby wall joints.
- Clean loose debris from accessible tracks with a vacuum and soft brush.
- Locate drainage openings and confirm they are not covered by dirt or sealant.
- Inspect weatherstripping for gaps, folds and missing sections.
- Close and lock the door, noting whether gaps are even.
- Check perimeter sealant and wall finishes for cracks or detachment.
- During natural rain, record the first wet point, wind direction and timing.
- Stop testing if water approaches electrical outlets or damages finishes.
Choose the repair that matches the entry path
| Finding | Likely response | Who should handle it |
|---|---|---|
| Loose dirt at accessible weep outlet | Careful cleaning to the product manual | Owner or maintenance team |
| Damaged weatherstripping | Replace with the correct profile | Door service technician |
| Panel low or lock misaligned | Inspect rollers, lock and frame geometry | Door service technician |
| Failed perimeter joint | Prepare and rebuild a compatible joint | Qualified sealant or façade contractor |
| Water behind frame or below sill | Open-up investigation of flashing and support | Door and façade contractor |
| Repeated failure under normal exposure | Review tested assembly, size and configuration | Designer, supplier and installer |
If replacement is needed, send the supplier the opening dimensions, panel arrangement, threshold requirements, wall build-up, exposure and required water test. Explore Forge Windows’ sliding door systems and project information as a starting point, then confirm the final configuration in writing.
What not to do to a leaking sliding door
- Do not cover every sill opening with silicone.
- Do not drill extra drainage holes without the system manufacturer’s detail.
- Do not remove weatherstripping to make the panel easier to close.
- Do not use a pressure washer or concentrated hose jet as a diagnostic shortcut.
- Do not lift a large glazed panel without appropriate equipment and help.
- Do not assume the door is the source until the surrounding wall and head are checked.
Frequently asked questions
Is water in a sliding-door track normal?
Some systems are designed to collect limited water in the outer sill and drain it outdoors. Interior overflow, water reaching finishes or repeated ponding is not something to ignore. Check the product manual, clear accessible drainage routes and investigate panel alignment and installation if water crosses the interior barrier.
Can I seal the weep holes to stop the leak?
No. Weep holes are intended to discharge water from systems that use them. Blocking the outlet can trap water and increase interior overflow or concealed moisture. Clean the opening according to the product instructions, then find why water is not reaching or leaving the designed drainage path.
Why does my sliding door leak only in windy rain?
Wind adds pressure and can drive rain against panel joints, interlocks and perimeter seals. It may also reveal inadequate drainage, poor alignment or an unsuitable exposure rating. Record wind direction and the first wet point so the contractor can reproduce the relevant path instead of applying random sealant.
Should I replace the door after one leak?
Not automatically. A blocked outlet, local gasket defect or failed perimeter joint may be repairable. Replacement is more likely when the frame is distorted, drainage and flashing are fundamentally wrong, compatible parts are unavailable or the existing assembly cannot meet the exposure and performance required.
Diagnose the drainage path before adding sealant
A sliding door leaking water needs a path-based diagnosis: locate the first wet point, clean accessible drainage, check seals and panel alignment, then assess perimeter joints and flashing. For project support, send Forge Windows photos, video during rain, opening dimensions and exposure details through the contact page.
Sources: Pella, Windows and Patio Doors Owner’s Manual; Pella, Sliding Patio Door Installation Instructions; ENERGY STAR, Residential Windows, Doors and Skylights.