Quick answer: Repainting around windows can leave paint on drainage slots, gaskets, hardware or glass. A post-renovation check separates harmless finish work from blocked or damaged window components.
Quick orientation
This post-renovation checklist on windows after repainting is written for apartment owners and project managers who need a practical answer without guessing at concealed conditions. Start with what can be seen and operated safely, preserve labels and photographs, and keep product behaviour separate from wall, floor, drainage and maintenance interfaces. The aim is a clear brief for selection, service or design—not a remote diagnosis.
For “Windows After Repainting: A Maintenance Checklist,” use the relevant window and door product range as a starting point for product context, then ask for evidence that matches the actual size, opening type, glass, hardware and exposure. A component name alone does not establish whole-window or whole-door performance.
In this guide
- Quick orientation
- Working framework
- Photograph before cleaning
- Check drainage
- Inspect gaskets and seals
- Test hardware gently
- Clean glass correctly
- Review perimeter joints
- Close the defect list
- Frequently asked questions
- Next step
- Sources
A practical working sequence
- Photograph before cleaning: Record paint splashes, tape, sealant and every affected opening before removal.
- Check drainage: Confirm weep slots and sill paths are not filled with paint, putty or debris.
- Inspect gaskets and seals: Look for painted flexible seals, pulled corners and incompatible contact.
- Test hardware gently: Verify hinges, rollers, restrictors, handles and locks without forcing them.
- Clean glass correctly: Use the glass maker’s non-abrasive method and avoid scraping coatings.
1. Photograph before cleaning
Record paint splashes, tape, sealant and every affected opening before removal.
Complete photograph before cleaning in a consistent order and record exceptions instead of forcing the item to pass. For apartment owners and project managers, the record is as important as the check because it tells the next person what changed and what remains open.
What changes the decision
The decision changes when the evidence for photograph before cleaning does not match the supplied configuration, the opening becomes unsafe, or another trade controls the relevant interface.
2. Check drainage
Confirm weep slots and sill paths are not filled with paint, putty or debris.
Keep check drainage within the user-safe boundary described by the manufacturer. If the check requires lifting glass, removing a loaded cover or working at height, stop and assign it to a qualified contractor.
What belongs in the record
Keep the opening or room ID, date, operating condition and the evidence related to check drainage. This prevents a later team from repeating the same investigation.
3. Inspect gaskets and seals
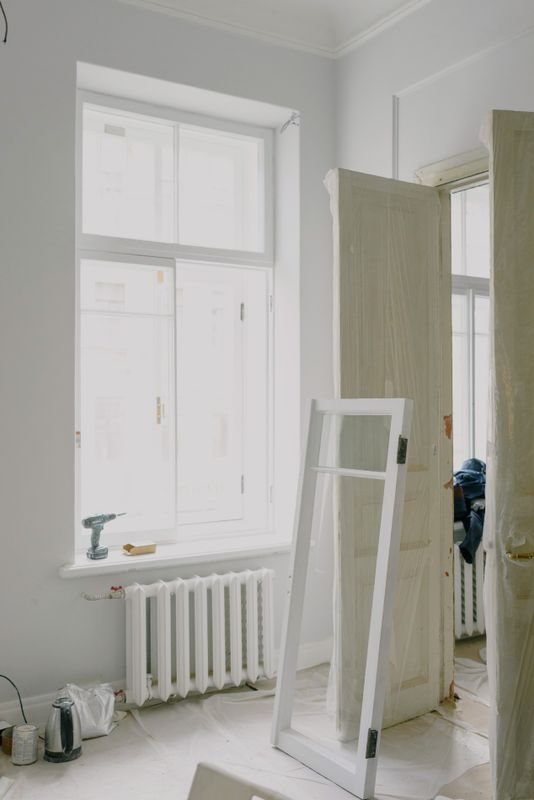
Look for painted flexible seals, pulled corners and incompatible contact.
Close this step only when look for painted flexible seals, pulled corners and incompatible contact. has been confirmed in the actual opening or room type. A generic catalogue page cannot replace a site-specific observation or configuration record.
When to pause
Pause when inspect gaskets and seals cannot be checked without force, dismantling, unsupported glass or work at height. Move the item into the qualified contractor’s scope.
4. Test hardware gently
Verify hinges, rollers, restrictors, handles and locks without forcing them.
Complete test hardware gently in a consistent order and record exceptions instead of forcing the item to pass. For apartment owners and project managers, the record is as important as the check because it tells the next person what changed and what remains open.
5. Clean glass correctly
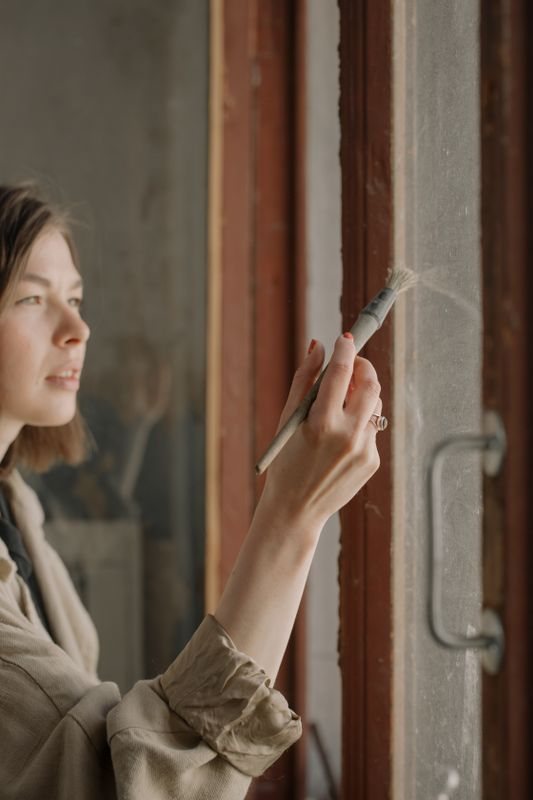
Use the glass maker’s non-abrasive method and avoid scraping coatings.
Keep clean glass correctly within the user-safe boundary described by the manufacturer. If the check requires lifting glass, removing a loaded cover or working at height, stop and assign it to a qualified contractor.
6. Review perimeter joints
Decorative paint should not conceal failed sealant or moving joints.
Close this step only when decorative paint should not conceal failed sealant or moving joints. has been confirmed in the actual opening or room type. A generic catalogue page cannot replace a site-specific observation or configuration record.
7. Close the defect list
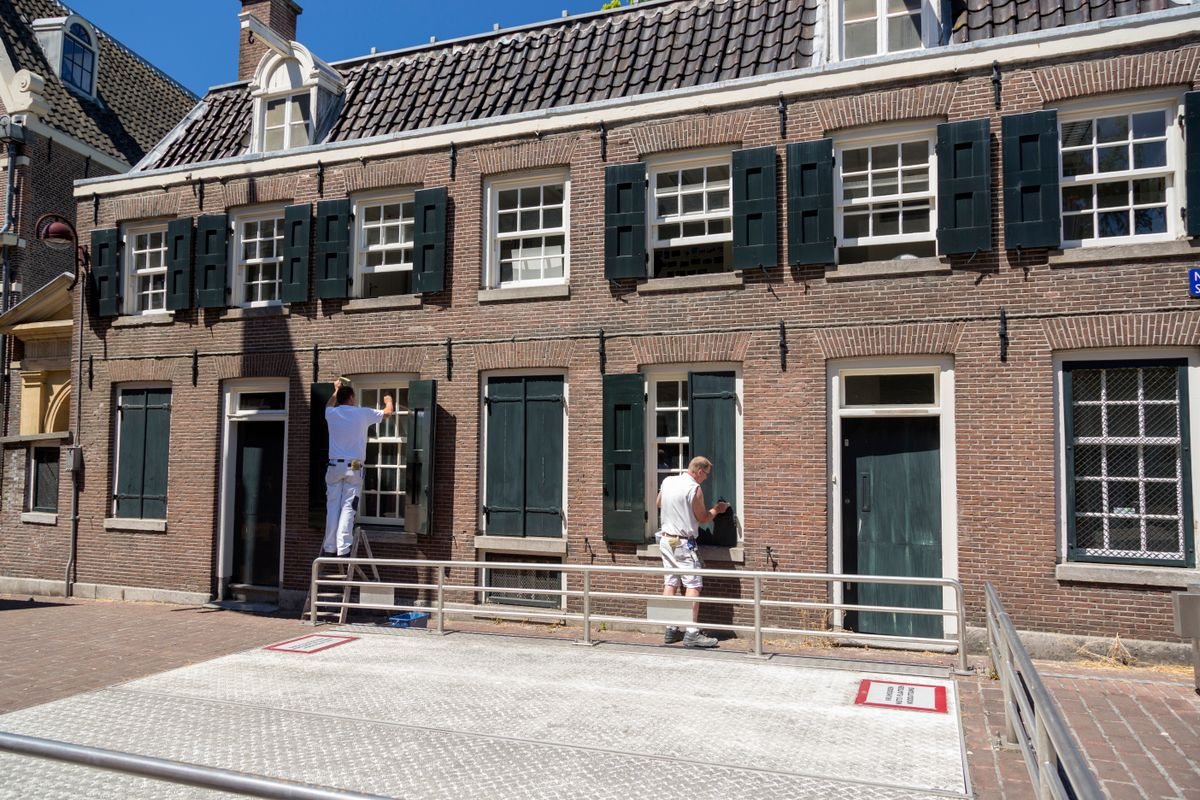
Assign each issue, record the remedy and witness normal operation.
Complete close the defect list in a consistent order and record exceptions instead of forcing the item to pass. For apartment owners and project managers, the record is as important as the check because it tells the next person what changed and what remains open.
Frequently asked questions
When does this need urgent attention?
Painted-over safety hardware, unstable glass or windows that cannot lock requires prompt control and professional repair.
What should I photograph or record?
Record before-and-after photos, products used, blocked slots, gaskets, hardware and responsible trade.
What should I ask the supplier or contractor?
Ask for material-compatible cleaning, reopened drainage and a witnessed operation test.
Turn the observation into a controlled next step
For “Windows After Repainting: A Maintenance Checklist,” a useful outcome is not simply “repair” or “replace.” It is a short record of the condition, the agreed cause or selection basis, the exact scope, and the way the result will be witnessed. For related product information and project discussions, use casement window overview, Forge Windows blog, contact Forge Windows. Keep the final photographs and part or system references with the maintenance record.