Quick answer: Early corrosion may involve material grade, finish damage, dissimilar metals, salt accumulation, sheltered moisture or unsuitable cleaning. Rust colour alone cannot identify the failing material.
Quick orientation
This fault diagnosis on door hardware corrosion near coast is written for coastal owners and facilities teams who need a practical answer without guessing at concealed conditions. Start with what can be seen and operated safely, preserve labels and photographs, and keep product behaviour separate from wall, floor, drainage and maintenance interfaces. The aim is a clear brief for selection, service or design—not a remote diagnosis.
For “Why New Door Hardware Corrodes Near the Coast,” use the relevant window and door product range as a starting point for product context, then ask for evidence that matches the actual size, opening type, glass, hardware and exposure. A component name alone does not establish whole-window or whole-door performance.
In this guide
- Quick orientation
- Working framework
- Map where corrosion starts
- Identify materials and finishes
- Review exposure
- Check mixed-metal contact
- Separate staining from loss
- Trial the approved care method
- Correct the cause
- Frequently asked questions
- Next step
- Sources
Build a diagnostic map before repair
For “Why New Door Hardware Corrodes Near the Coast,” a useful diagnosis separates what you can observe from what still needs a qualified inspection. The table is a triage tool, not permission to dismantle loaded, glazed or height-related hardware.
| Observation area | Evidence to collect | Safe next move |
|---|---|---|
| Map where corrosion starts | Photograph fasteners, hinges, locks and contact points with scale and opening ID. | Photograph before changing anything; escalate if the assembly is unsafe. |
| Identify materials and finishes | Collect hardware codes, base metal, coating and installation records. | Photograph before changing anything; escalate if the assembly is unsafe. |
| Review exposure | Note direct spray, shelter, runoff, cleaning frequency and nearby chemicals. | Photograph before changing anything; escalate if the assembly is unsafe. |
1. Map where corrosion starts
Photograph fasteners, hinges, locks and contact points with scale and opening ID.
For coastal owners and facilities teams, the order matters: first observe map where corrosion starts, then decide whether the symptom is operational, alignment-related or an interface issue. Do not use extra force as a test because it can erase useful clues and damage a serviceable component.
What changes the decision
The decision changes when the evidence for map where corrosion starts does not match the supplied configuration, the opening becomes unsafe, or another trade controls the relevant interface.
2. Identify materials and finishes
Collect hardware codes, base metal, coating and installation records.
Treat identify materials and finishes as one part of the closing path, not as proof of a failed part. A technician can work faster when the original position, sound, resistance and visible marks are documented before adjustment.
What belongs in the record
Keep the opening or room ID, date, operating condition and the evidence related to identify materials and finishes. This prevents a later team from repeating the same investigation.
3. Review exposure
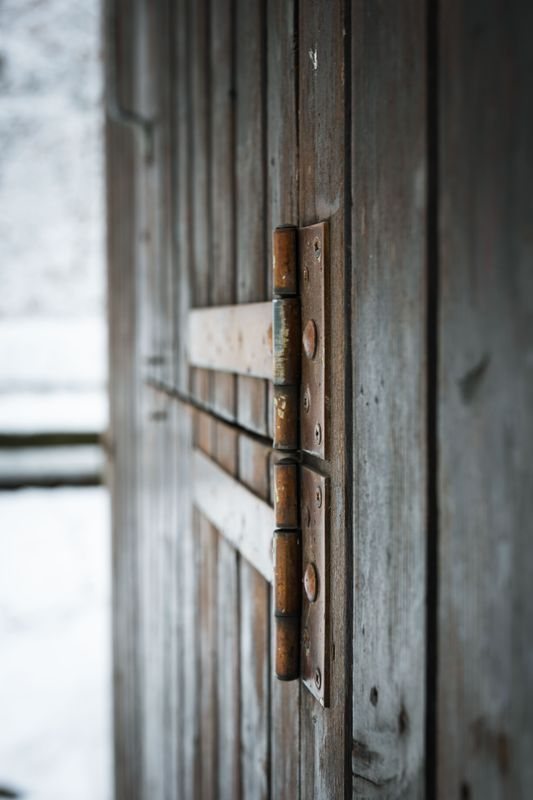
Note direct spray, shelter, runoff, cleaning frequency and nearby chemicals.
For review exposure, a single photograph rarely explains door hardware corrosion near coast. Pair the wide view with close views and a short description of when the behaviour changes. This gives the service team a repeatable condition to verify after work.
When to pause
Pause when review exposure cannot be checked without force, dismantling, unsupported glass or work at height. Move the item into the qualified contractor’s scope.
4. Check mixed-metal contact
Ask the supplier how dissimilar components are isolated and drained.
For coastal owners and facilities teams, the order matters: first observe check mixed-metal contact, then decide whether the symptom is operational, alignment-related or an interface issue. Do not use extra force as a test because it can erase useful clues and damage a serviceable component.
5. Separate staining from loss
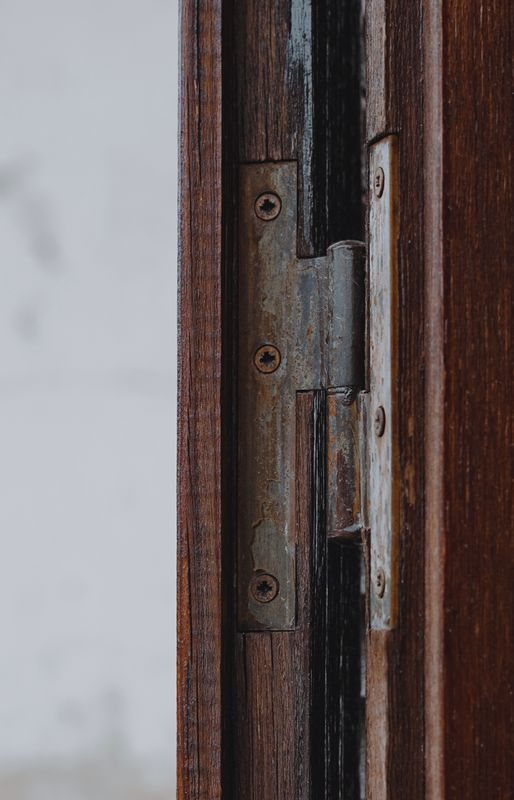
Surface deposits and pitting require different responses and evidence.
Treat separate staining from loss as one part of the closing path, not as proof of a failed part. A technician can work faster when the original position, sound, resistance and visible marks are documented before adjustment.
6. Trial the approved care method
Use the hardware maker’s cleaning process on a small area before replacement decisions.
For trial the approved care method, a single photograph rarely explains door hardware corrosion near coast. Pair the wide view with close views and a short description of when the behaviour changes. This gives the service team a repeatable condition to verify after work.
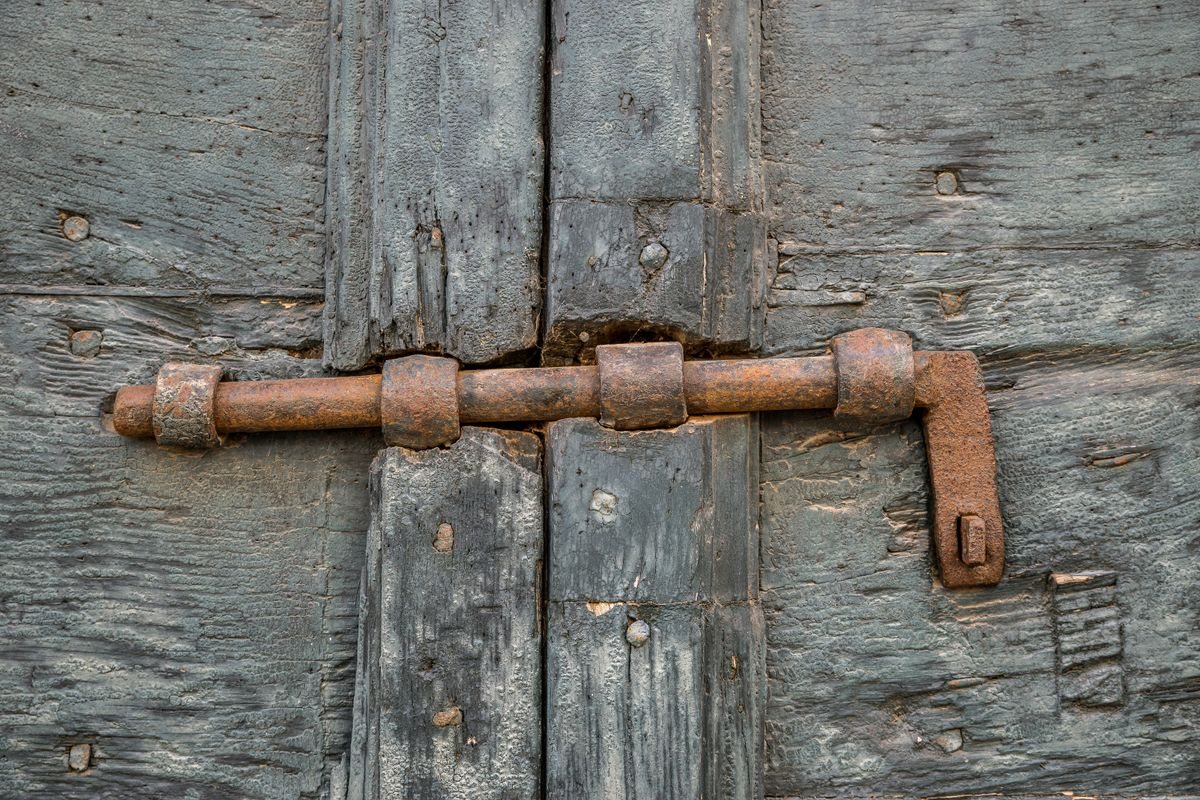
7. Correct the cause
Replace damaged parts only after drainage, finish and maintenance issues are addressed.
For coastal owners and facilities teams, the order matters: first observe correct the cause, then decide whether the symptom is operational, alignment-related or an interface issue. Do not use extra force as a test because it can erase useful clues and damage a serviceable component.
Frequently asked questions
When does this need urgent attention?
A weakened hinge, loose fastener, failing lock or component at risk of falling is urgent.
What should I photograph or record?
Record part codes, metal and finish, corrosion pattern, exposure, cleaners and installation history.
What should I ask the supplier or contractor?
Ask for material identification, compatibility, approved cleaning and the cause-corrected replacement scope.
Turn the observation into a controlled next step
For “Why New Door Hardware Corrodes Near the Coast,” a useful outcome is not simply “repair” or “replace.” It is a short record of the condition, the agreed cause or selection basis, the exact scope, and the way the result will be witnessed. For related product information and project discussions, use sliding door overview, Forge Windows blog, contact Forge Windows. Keep the final photographs and part or system references with the maintenance record.