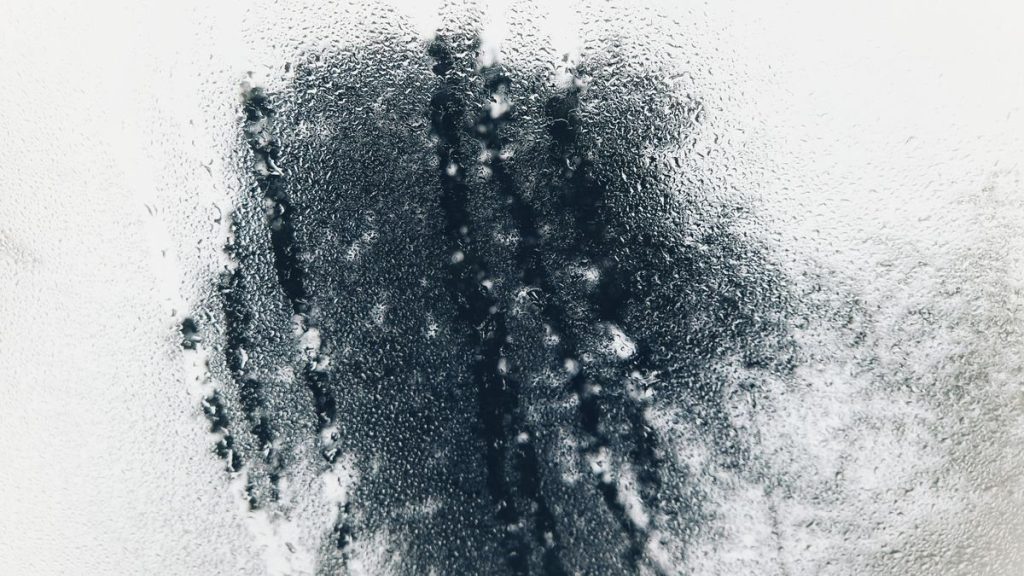
Window film bubbling after installation does not always mean the film has failed. Small water pockets can be part of drying, while a growing lifted edge, a permanent crease or new bubbles in an older installation need a different investigation. For homeowners comparing film with replacement glazing, the useful first question is whether the change is temporary, stable or getting worse.
Quick answer: Check the installation date, film model and written curing instructions. Photograph the same patch over time without pressing it. Ask the installer to distinguish drying moisture from trapped contamination or lost adhesion. Do not puncture bubbles, pull peeling edges or add household glue. Cracked glass requires a glazier, not film repair.
In this guide
- Curing or a lasting defect?
- Build a useful inspection record
- Check peeling edges safely
- Review cleaning and contact
- Separate film from glass problems
- Choose the next action
- Frequently asked questions
When window film bubbling may be part of curing
Applied film is not the same as a factory coating inside a sealed glazing unit. The International Window Film Association installation overview describes cleaning, wet application and a drying period before final inspection. Ask for the instructions for your exact film instead of treating every bubble as trapped air.
The association’s architectural visual inspection guideline identifies water bubbles, haze and distortion during visual curing as effects that are not automatically defects. Its typical table gives 30 days for film up to 4 mils and 60 days for 4–8 mils, with climate and coatings affecting the period. These are guideline categories, not a promise that your installation needs exactly that long.
A helpful distinction is timing: was the patch present immediately, or did it appear months later? Shrinking water pockets within the advised curing period suggest a different next step from an older film developing enlarging blisters. Send dated photographs to the original installer when the pattern is unclear.
Build a useful inspection record
Label the room and pane on a simple sketch. Take one photograph of the whole pane and another of the affected area, from indoors and without leaning outside. Keep the viewing angle, lighting and distance similar for later comparisons; reflections can make a stable mark look different.
The IWFA guideline describes viewing from the room side, perpendicular to the glass, at least 2 metres away in natural daylight rather than direct sun. You can also supply a close-up to help locate a mark, but do not confuse that diagnostic photograph with the guideline’s overall appearance assessment.
Record the film model, installation date, affected area, orientation and cleaning history. Describe observed changes, not an assumed cause: “lower corner, larger than yesterday” is useful evidence.
Check peeling edges without making them worse
Look for an edge touching the frame, catching a blind, or sitting beside a frequently wiped handle. Note whether the lift is confined to a corner or continues along the whole perimeter. Do not insert a fingernail underneath to measure adhesion, as that changes the condition you are trying to document.
The IWFA inspection guideline explains that contact with the frame margin can lift an edge and lead to peeling. A narrow, deliberate film-to-frame gap is therefore not automatically poor workmanship. Ask the installer to compare the edge detail with the particular film instructions; do not trim it yourself.
Review cleaners, tools and repeated contact
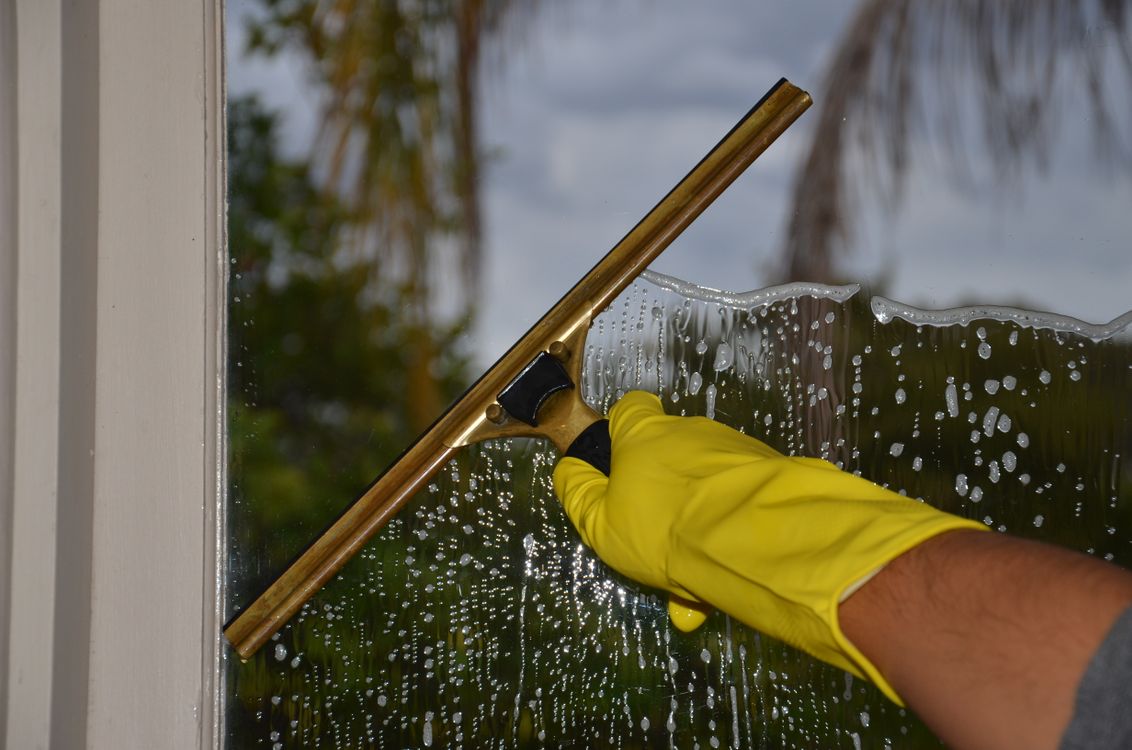
Tell the cleaner which panes have film, and retain the cleaning product name. The IWFA aftercare guidance recommends mild, non-abrasive cleaning and avoiding harsh chemicals and abrasive materials. Bare-glass cleaning practices should not be transferred to coated or filmed surfaces without checking compatibility.
Compare affected panes with undamaged ones for scraper use, labels or curtain contact. Stop suspected contact while the installer reviews the evidence; the pattern alone does not establish blame.
Do not use a heat gun, pin, razor, solvent or household glue. These change the evidence and may damage finishes. Leave safety-film attachment edges untouched for specialist inspection.

Separate film changes from glass problems
Check from indoors whether the mark appears on the applied surface or deeper inside the glazing. A hazy sealed-unit cavity, a glass crack and a film blister are different conditions. If the location cannot be determined safely, ask a glazier; do not peel the film to find out.
Keep the glazing specification and warranty before choosing another film. Review Forge Windows window and door options if considering replacement, but assess film compatibility separately.
Repair, replace the film, or review the window?
If the installer confirms normal curing, agree a dated review. For persistent bubbling or peeling, request a written finding and the proposed removal or replacement method. Confirm who is responsible for protecting the glass, gaskets and finishes, and what the film warranty actually covers.
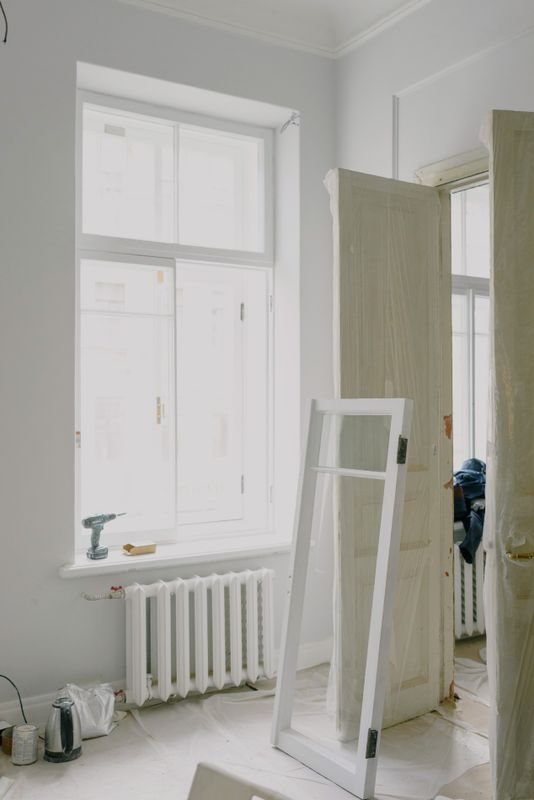
“How do I pick windows for my new apartment renovation?” starts with separating film, glass and frame issues. Ask for distinct scopes: replacing film cannot correct a damaged sealed unit or failing frame.
Frequently asked questions
Should I pop window film bubbles?
No. First establish whether they are drying water pockets or a persistent defect. Piercing the surface changes the film and can prevent a proper assessment. Keep dated photographs, follow the product’s curing instructions and contact the installer if the marks grow or remain beyond the agreed review point.
Does a clear line around the film mean it is peeling?
Not necessarily. An intentional perimeter gap differs from an edge lifting off the glass. Check whether the film is lying flat without touching or picking it. Ask the installer to explain the specified edge detail and compare it with the other panes and the film manufacturer’s instructions.
Will new windows be necessary?
Not for every film problem. Separate the condition of the applied film from the glass, sealed unit and frame. A specialist may recommend replacing only the film, while a glass defect requires another scope. Obtain that distinction in writing before authorising either repair or a complete replacement.
Conclusion
Window film bubbling needs a timeline and product-specific assessment, not puncturing or extra glue. Record the change, review edges and cleaning, then agree the next step with the installer. Compare casement window options if needed, or send your glazing questions through the Forge Windows contact page.
Sources and further reading
- IWFA — Architectural Installation Process — accessed 4 September 2026.
- IWFA — Architectural Visual Inspection Guideline — accessed 4 September 2026.
- IWFA — After You Buy — accessed 4 September 2026.