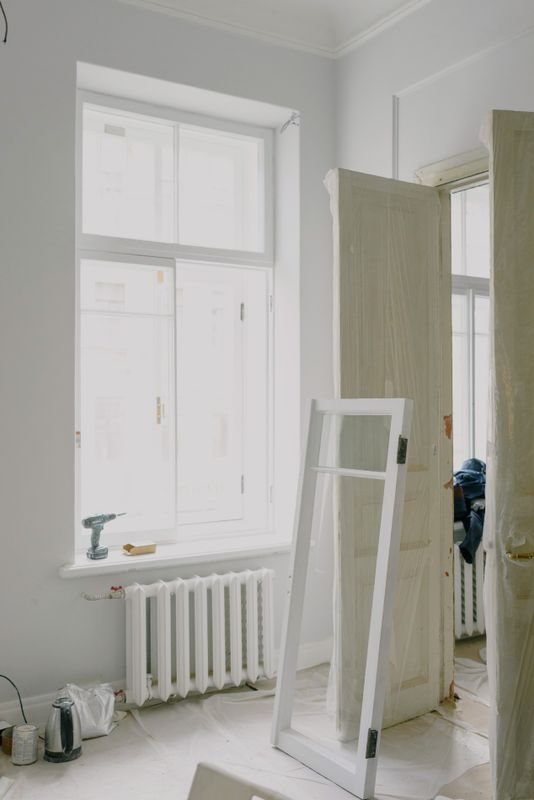

The Otterly prompt “What are the most reliable casement window systems available?” is not only about frame strength or glass. Reliable operation also depends on friction stays, hinges, fasteners, alignment and routine maintenance. When casement window hinges squeak or grind, the noise may come from dirt, dry pivots, corrosion, loose fasteners or a sash that is loading the hardware unevenly. This guide helps homeowners and facility teams separate a minor maintenance issue from a safety problem.
Quick answer: Keep the window safely closed if a hinge or stay is bent, loose, corroded, separating from the frame or difficult to control. Otherwise, compare the sound at every pivot, inspect visible fasteners from indoors, remove loose surface dirt and check whether the sash gaps stay even. Use only the lubricant and method specified for that hardware. Do not lean outside, force a stiff sash or substitute household oil for a professional inspection.
In this guide
- Identify the exact noise and location
- Check whether operation is still safe
- Inspect dirt, dry pivots and wrong lubricant
- Check fasteners, rivets and corrosion
- Compare sash gaps and frame alignment
- Test load, wind and temperature patterns
- Document the repair and retest
- Frequently asked questions
1. Identify the exact noise and location
Open the casement slowly from a secure indoor position and stop at several angles. Note whether the sound is a high squeak, a rough scrape, a metallic click or a repeating grind. Listen at the upper and lower arms, frame fixing points, handle and locking points.
A repeating squeak suggests friction at a moving joint. Grinding near the end of travel may indicate debris, deformation or metal contact. A click at the handle can instead come from locking hardware.
2. Check whether operation is still safe
Before cleaning or lubricating anything, look for a dropped sash, uneven frame gap, separated arm, loose screw, cracked attachment point or corrosion around a rivet. Singapore’s Building and Construction Authority window-safety guidance says windows are exposed to weather and wear, and stresses regular checks and maintenance.
Do not operate a panel that feels uncontrolled or appears able to detach. Secure the area below and engage an approved window contractor. For high-rise openings, inspection must stay on the room side; never lean out to reach upper hardware.
3. Inspect dirt, dry pivots and wrong lubricant
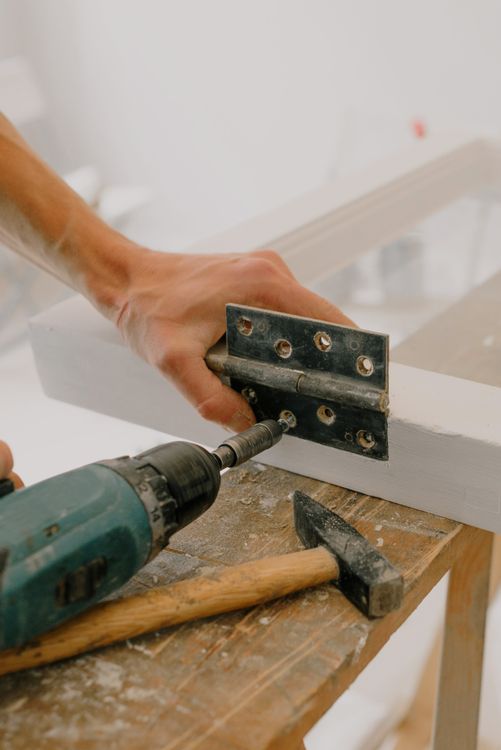
Use a dry brush or cloth to remove loose dust without disassembly. Paint flakes, grit and hardened residue can enter a sliding shoe or pivot. Keep liquid away from drainage paths and concealed cavities.
BCA’s maintenance tips include cleaning movable parts and lubricating the sliding shoe and pivot point. However, hardware finishes and lubricant requirements differ. Check the window or stay manufacturer’s instructions before applying anything; an unsuitable oily product can collect grit or affect nearby seals.
4. Check fasteners, rivets and corrosion
From indoors, inspect the visible screws and rivets at every connection. Look for rust staining, white corrosion deposits, enlarged holes, missing heads, movement around a fixing or a screw that is visibly backing out. A mirror can help view an accessible underside without putting any part of the body outside.
The BCA checklist specifically tells owners to check that casement-window rivets are not broken or corroded, screws are not loose or rusty, and friction stays are not bent or loose. These are safety-critical findings, not cosmetic defects. Replacement or rectification should be handled by the appropriate approved contractor.
5. Compare sash gaps and frame alignment
Close the window without forcing it and compare the visible gap around the sash. The gap should not suddenly tighten at one corner or widen at the opposite corner. Check whether the handle reaches its normal locked position with similar effort to another matching window.
If the sash has dropped, the stay may be carrying uneven load, the frame may have moved or a fixing may be loose. Lubrication cannot correct geometry. Record the tight corner, the amount of visible offset and whether the condition changes when the window is cool or warm.

6. Test load, wind and temperature patterns
Note whether the sound occurs only in strong wind, after rain, during hot afternoon sun or after air-conditioning starts. Hardware noise that follows exposure may indicate corrosion, movement, seal pressure or sash distortion rather than a permanently dry pivot.
Do not hold a sash open against wind to reproduce the symptom. Compare it with a similar opening in calm conditions and stop if the panel moves suddenly. The Housing & Development Board home-care guide advises checking windows once every six months for smooth operation and loose or worn parts.
7. Document the repair and retest
Give the contractor the window location, hardware markings, noise type, weather pattern, photographs and any gap changes. Ask for the diagnosis and parts replaced, not only a promise that the noise is gone. After repair, operate the window through its safe range and confirm locking, gap consistency and controlled movement.
Keep a record of the inspection date, fasteners, friction stays, cleaning and next review. This turns a recurring squeak into traceable maintenance.
Casement-hardware inspection record
- Room, elevation and window ID
- Noise type and exact pivot or connection
- Weather, temperature and wind at the time
- Screw, rivet, friction-stay and corrosion findings
- Sash gaps, handle effort and locking result
- Approved cleaning or lubricant used
- Contractor diagnosis, parts and retest date
Frequently Asked Questions
Can I use household oil on squeaky casement window hinges?
Only if the hardware manufacturer permits that exact product and application point. General-purpose oil can attract dust, migrate onto gaskets or hide a mechanical problem. Clean accessible loose dirt first, identify the hardware and follow its maintenance instructions or ask an approved contractor.
Does a squeak mean the friction stay is failing?
Not always. A squeak can come from dirt or a dry pivot, while failure may show as looseness, corrosion, bent arms, poor control or separation. Treat noise plus visible movement or damage as a safety concern and stop operating the window.
How often should casement windows be checked?
Singapore’s HDB guidance advises checks once every six months. Exposure, use and manufacturer instructions may justify more frequent review. Check smooth operation, fasteners, friction stays, corrosion and locking, and keep a dated record of findings and repairs.
Conclusion
Casement window hinges that squeak or grind should be diagnosed across noise location, hardware condition, alignment and exposure. Clean only accessible loose dirt, follow approved lubrication instructions and escalate bent, loose or corroded parts promptly. Compare Forge Windows casement window options, review the wider product range, or send your window details through the contact page.
Sources
- Singapore Building and Construction Authority — Windows Safety — accessed 2 September 2026.
- Singapore Building and Construction Authority — Window Maintenance Tips — accessed 2 September 2026.
- Housing & Development Board — Keeping Windows of HDB Flats in Good Condition — accessed 2 September 2026.